February 2026
How to Take Body Measurements to Order the Right Size Online
Bryan Murphy

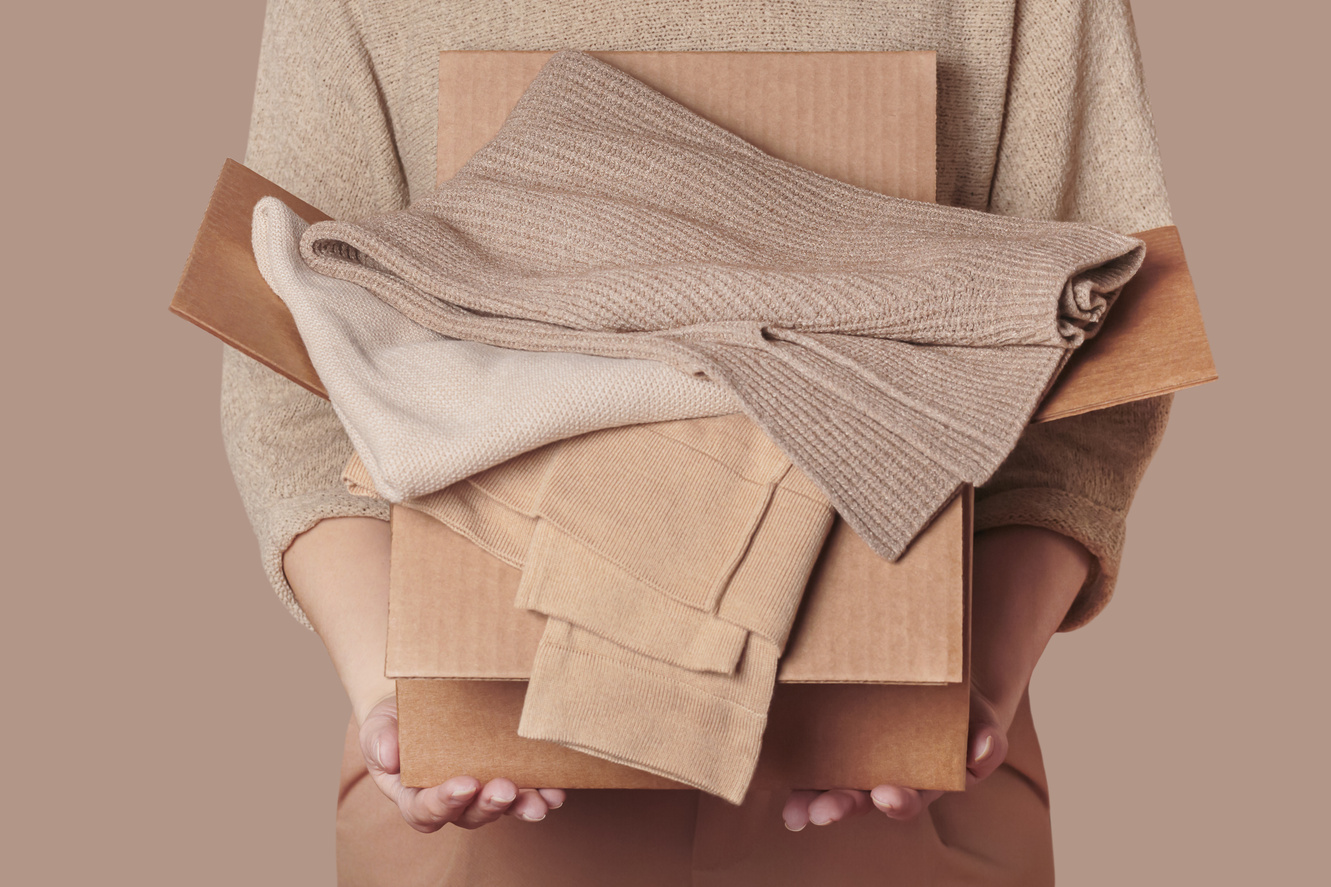
Have you ever ordered your “usual size” online, only to have it fit nothing as you expected? This is more common than you might think since sizing between brands varies so much. Instead of relying on your regular size, it’s always a good idea to check measurements. But to do that, you first need to know your own body measurements.
Knowing a few simple measurements can take a lot of the guesswork out of online shopping. Instead of hoping a size chart lines up with your expectations, you’re using real numbers that reflect how clothes actually fit your body.
Fortunately, you don’t need to measure every inch of your body or turn this into a full-on tailoring session. Knowing a handful of measurements, taken correctly, can make a noticeable difference in how confident you feel when choosing a size.
In this guide, we’ll walk you through exactly how to take your body measurements, common mistakes to avoid, and how to use those numbers when shopping online.
What You’ll Need to Take Body Measurements
Before you start taking your measurements, gather everything you’ll need. Having the right setup makes the process quicker, easier, and more accurate.
Here’s what you’ll want to have on hand:
- A soft measuring tape: A fabric or tailor’s tape works best. If you don’t have one, many are inexpensive and easy to find, but for the most accurate results, you’ll want to avoid using rigid rulers or construction tape measures.
- Well-fitting, lightweight clothing (or underwear): Measuring over bulky clothing can skew your numbers. Stick to thin layers or measure over underwear for the most accurate results.
- A mirror or phone camera (optional, but helpful): This can help you keep the tape level, especially when measuring areas like your bust, waist, or hips.
- Someone to help you measure (optional, but recommended): Having a friend or partner help can make it easier to keep the tape straight and relaxed, especially for hard-to-reach areas like your back or shoulders.
- Something to record your measurements: You’ll want to have a place to jot them down, like a piece of paper or a notes app on your phone.
Quick tip: Take each measurement at least twice. If the numbers match (or are very close), you’re good to go. If not, measure again and use the average.
Once you have everything you need, you’re ready to start measuring!
How to Take Your Body Measurements
When taking your measurements, try to stand naturally and stay relaxed. Don’t hold your breath or pull the tape too tight, since the goal is to capture how your clothes actually need to fit, not your smallest possible size.
Bust/Chest
Wrap the measuring tape around the fullest part of your bust (or chest), keeping it level across your back. Your arms should rest comfortably at your sides. Make sure the tape sits flat and snug, but not tight. You should be able to slide a finger under it without resistance. This measurement is especially important for tops, dresses, and jackets.
Waist
Your natural waist is typically the narrowest part of your torso, located between your ribs and hips. If you’re unsure where it is, bend gently to one side; the crease that forms is your natural waist.
Wrap the tape around this point without pulling it tight. Stand normally and breathe naturally while measuring. Waist measurements are often used for bottoms, fitted dresses, and tailored silhouettes.
Hips
Stand with your feet together and wrap the tape around the widest part of your hips and seat. This is usually lower than you expect.
Keep the tape level all the way around and make sure it’s not angled up or down at the back. Hip measurements are key for jeans, trousers, skirts, and form-fitting dresses.
Inseam
The inseam measures the length of your leg from the crotch to the hem. One of the easiest ways to measure this is to grab a pair of pants that fits you well.
Lay the pants flat and measure from the crotch seam down to the bottom of the leg. This measurement helps you choose the right pant length and avoid pants that are too short or too long.
Shoulder Width
Measure straight across your back from the outer edge of one shoulder to the other. The easiest way to do this is with help from another person.
This measurement is especially useful for structured tops, blazers, coats, and tailored shirts, basically anything where shoulder fit affects how the entire garment sits.
Sleeve Length
With your arm slightly bent, measure from the top of your shoulder down to your wrist.
Sleeve length matters most for long-sleeve tops, jackets, and outerwear, where even a small difference can affect comfort and appearance.
Thigh Circumference
Measure around the fullest part of your upper thigh, keeping the tape snug but relaxed. This measurement can be helpful for fitted pants, jeans, trousers, and activewear, especially if you’ve ever had pants fit in the waist but feel tight through the legs.
Common Mistakes Shoppers Make When Taking Measurements
- Measuring over bulky clothing: Thick layers can add extra inches or centimeters. For best results, measure over underwear or lightweight clothing.
- Pulling the tape too tight: A tight tape job can make clothes feel restrictive. The tape should sit snugly without digging into your skin.
- Using old measurements: Bodies change over time. If it’s been a while since you last measured, or if fit feels off, it’s worth measuring again.
- Not keeping the tape level: A tilted tape can throw off bust, waist, and hip measurements. A mirror or helper can help here.
- Relying only on size labels: Sizes vary by brand and region. Your measurements are more reliable than S, M, L, or a single number.
How to Use Your Measurements When Shopping Online
Once you have your measurements, the next step is knowing how to actually use them when you’re shopping. This is where many shoppers still get stuck, but it doesn’t have to be complicated.
Start with the brand’s size chart, not the size you usually wear. Size charts show how a brand defines each size, and those definitions can vary widely. Instead of looking for your normal size, find the row that best matches your measurements.
If your measurements fall between two sizes, don’t panic. This is incredibly common. In most cases:
- Size up for a more relaxed or comfortable fit
- Size down if the item is designed to stretch or fit close to the body
Pay attention to which measurement matters most for the item you’re buying. For example, tops and dresses often depend more on bust or chest measurements, while pants and skirts rely more on waist, hips, and inseam measurements. You don’t need every measurement to match perfectly, just prioritize the ones that most affect fit.
It’s also worth checking the product description for fit notes. Details like “relaxed fit,” “runs small,” or “model wears a size M” provide helpful context when you’re deciding between sizes.
Finally, remember that measurements are meant to guide you, not box you in. Fit tools and size calculators can help translate your measurements into the most likely size for a specific brand or product, reducing guesswork and making online shopping feel a lot more confident.
Fit Starts With Knowing Your Measurements
Taking your body measurements doesn’t have to be complicated or intimidating. A few accurate numbers can go a long way in making it easier to choose the right size when shopping online.
Measurements aren’t about changing your body or chasing a “perfect” size. They’re simply a tool to help clothes work better for you. When you know your numbers and use them alongside size charts and fit tools, shopping online becomes less of a guess and more of a confident choice.
If sizing feels like a guessing game, speak up! Ask your favorite online stores to include a size calculator so shoppers can find the right fit faster and with fewer returns. It’s a win-win for everyone.